DIY: 2 Stuffed, Squeaky Dog Toy Projects

sweaterbonetoys copy

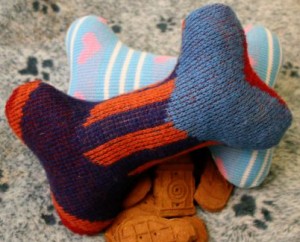
Here’s a great project to re-purpose old sweaters and turn them into squeaky bones from CraftStylish. If you use a wool sweater, you should probably felt it first.  If you don’t, then when you wash the finished toy, it may shrink into a MUCH smaller toy.  If you use cotton or acrylic, it won’t felt.  (Here are a few tutorials on felting, in case you need them: this one covers both hand & machine felting, here is a printable one on machine felting, and another on hand felting.)

You’ll need:

  • a clean, old sweater (yours, from a thrift store, etc.)
  • bone pattern–here are 3: bone #1, bone #2, bone #3
  • squeakers
  • sewing machine
  • thread
  • fiber fill or some kind of stuffing
  • a needle for hand sewing (here’s a tutorial for slip stitch for closing the toy)
 

Fabricbonetoy copy

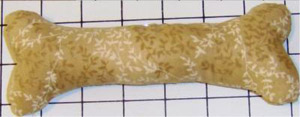
The second project is for a fabric squeaky bone toy. This isn’t a difficult project and the tutorial is thorough.  You can get some fun fabric for this.  If you want to be thrifty, check the remainder table at your fabric store or check for yardage at thrift stores.  If you use a lighter cotton, you should use an inner layer of a heavier fabric like canvas or muslin.  Upholstery fabric could make some neat toys and you don’t need to buy much.

You’ll need:

  • fabric (check the remnants table & thrift stores)
  • heavier fabric like canvas or muslin if you use a lighter weight fabric for the outside
  • bone pattern–here are 3: bone #1, bone #2, bone #3
  • squeaker (the tutorial calls for a rattle)
  • sewing machine
  • thread
  • fiber fill or some kind of stuffing
  • a needle for hand sewing (here’s a tutorial for slip stitch for closing the toy)
DIY: Pet Bed Round-Up

Fall is in the air here in the Pacific NW. It’s getting chilly and our cats & dog are finding snugly places to sleep.  I may need to make a couple more small beds to keep the peace amongst the cats.  Here’s the collection of posts on DIY pet beds.

sweaterbeddoneA favorite spot for Sage is the bed I made from an old sweater.  Here’s a great tutorial on how to upcycle an old sweater into a pet bed and you can check out how I made my version of the sweater bed.


suitcasebed4Vintage suitcases make cute & clever pet beds.  This post has a bunch of tutorials and examples of these fun beds.


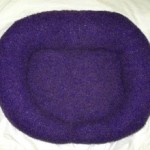
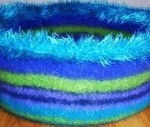
knitcatbed1 copyI would consider learning to knit just so I could make some of these beds.  You can knit & felt wonderful pet beds using the two great tutorials here.

.

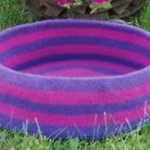
crochetbedthumbIf you crochet, check out this pattern for crocheting & felting a nifty bed.

.

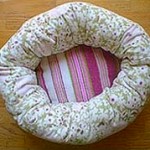
shrimpybedYou don’t have to be an expert in sewing to make this cute & easy nest bed.

.

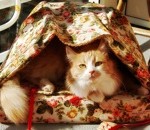
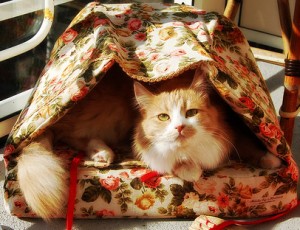
hoodedbedSome cats & dogs like to burrow more in their beds and this tutorial on making a hooded pet bed is perfect.


cathamockA hammock for your small pet might be the best thing.  Here’s a post on how to make a hammock that can be free-standing or placed on a furnace to keep our pet good and toasty.


diyelevatedbedAnd if you need to get your pet off a cold floor, or if you’re in the Southern Hemisphere and need to keep your pets cool, this post shows how to make an elevated bed out of PVC pipe like Kuranda beds.

.

DIY: Custom Fit Dog Jacket

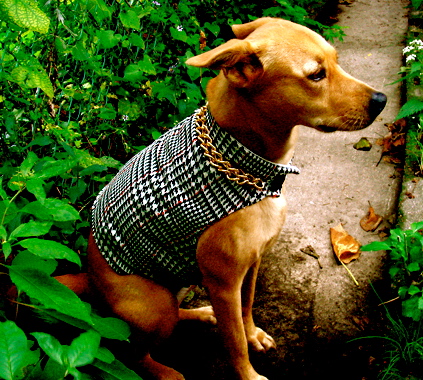
I found a great little tutorial on making a custom fit dog jacket over at BurdaStyle.com. This is mainly a tutorial on making & customizing the pattern, not actually sewing the jacket.  You’ll need some knowledge about sewing, especially if you line the jacket.  But, this is doable so don’t be intimidated.

customdogjacket

Your jacket doesn’t have to cost much.  Look for remnants at your fabric store—a cute, durable upholstery fabric could be really cute.  You could also use fleece.   Or you could use a blanket from a thrift store.  If you find a fun wool blanket, you could felt it to make a more durable & very cute jacket.

Here are a few tutorials on felting:  this one covers both hand & machine felting, here is a printable one on machine felting, and another on hand felting.

In addition to fabric, you’ll need:

  • paper to make the pattern
  • sufficient fabric, plus fabric for lining if you plan to line it
  • fasteners like buttons, velcro, snaps
  • embellishments if you want them

The tutorial shows you how and where to measure.  Then how to transfer the measurements to paper to make the pattern.

Here are some instructions to help flesh out Step 4:

  1. fold your fabric in half & place “spine” of pattern on the fold
  2. when you cut the fabric, pad the pattern with extra fabric for seam allowances (5/8″ or 1.5cm is standard) unless you’re using fabric that won’t fray such as felt
  3. add tabs for fasteners
  4. cut out lining if needed, again padding the pattern for seam allowances as above
  5. if there will be no lining, hem the jacket
  6. if there will be a lining, place RIGHT sides together, sew leaving opening to turn the jacket, turn and finish the jacket
  7. add fasteners and any embellishments

DIY: Sew A Hooded Pet Bed

Hanna in Sweden has a good tutorial for sewing a hooded pet bed—perfect for a cat or small dog.  This project will be easier with some sewing experience, but is still pretty straightforward.  She gives details for how to size your pattern, but you’ll have to make your own.  Don’t let that scare you though.  The tutorial combines machine and hand sewing.  I would machine sew as much as I could and hide the seams in the folds on the inner part of the bed where the sides attach to the bottom and to the hood.

Hanna used an old curtain, which is a great and very thrifty idea.  Material used for drapes is heavier and more durable.  You’ll also need foam rubber.  She used thinner foam—one layer for the sides and multiple layers for a cushy bottom.  You could do that, but buying a thin piece for the sides and a thick piece for the bottom means less cutting and that the foam in the bottom will be easier to manage.