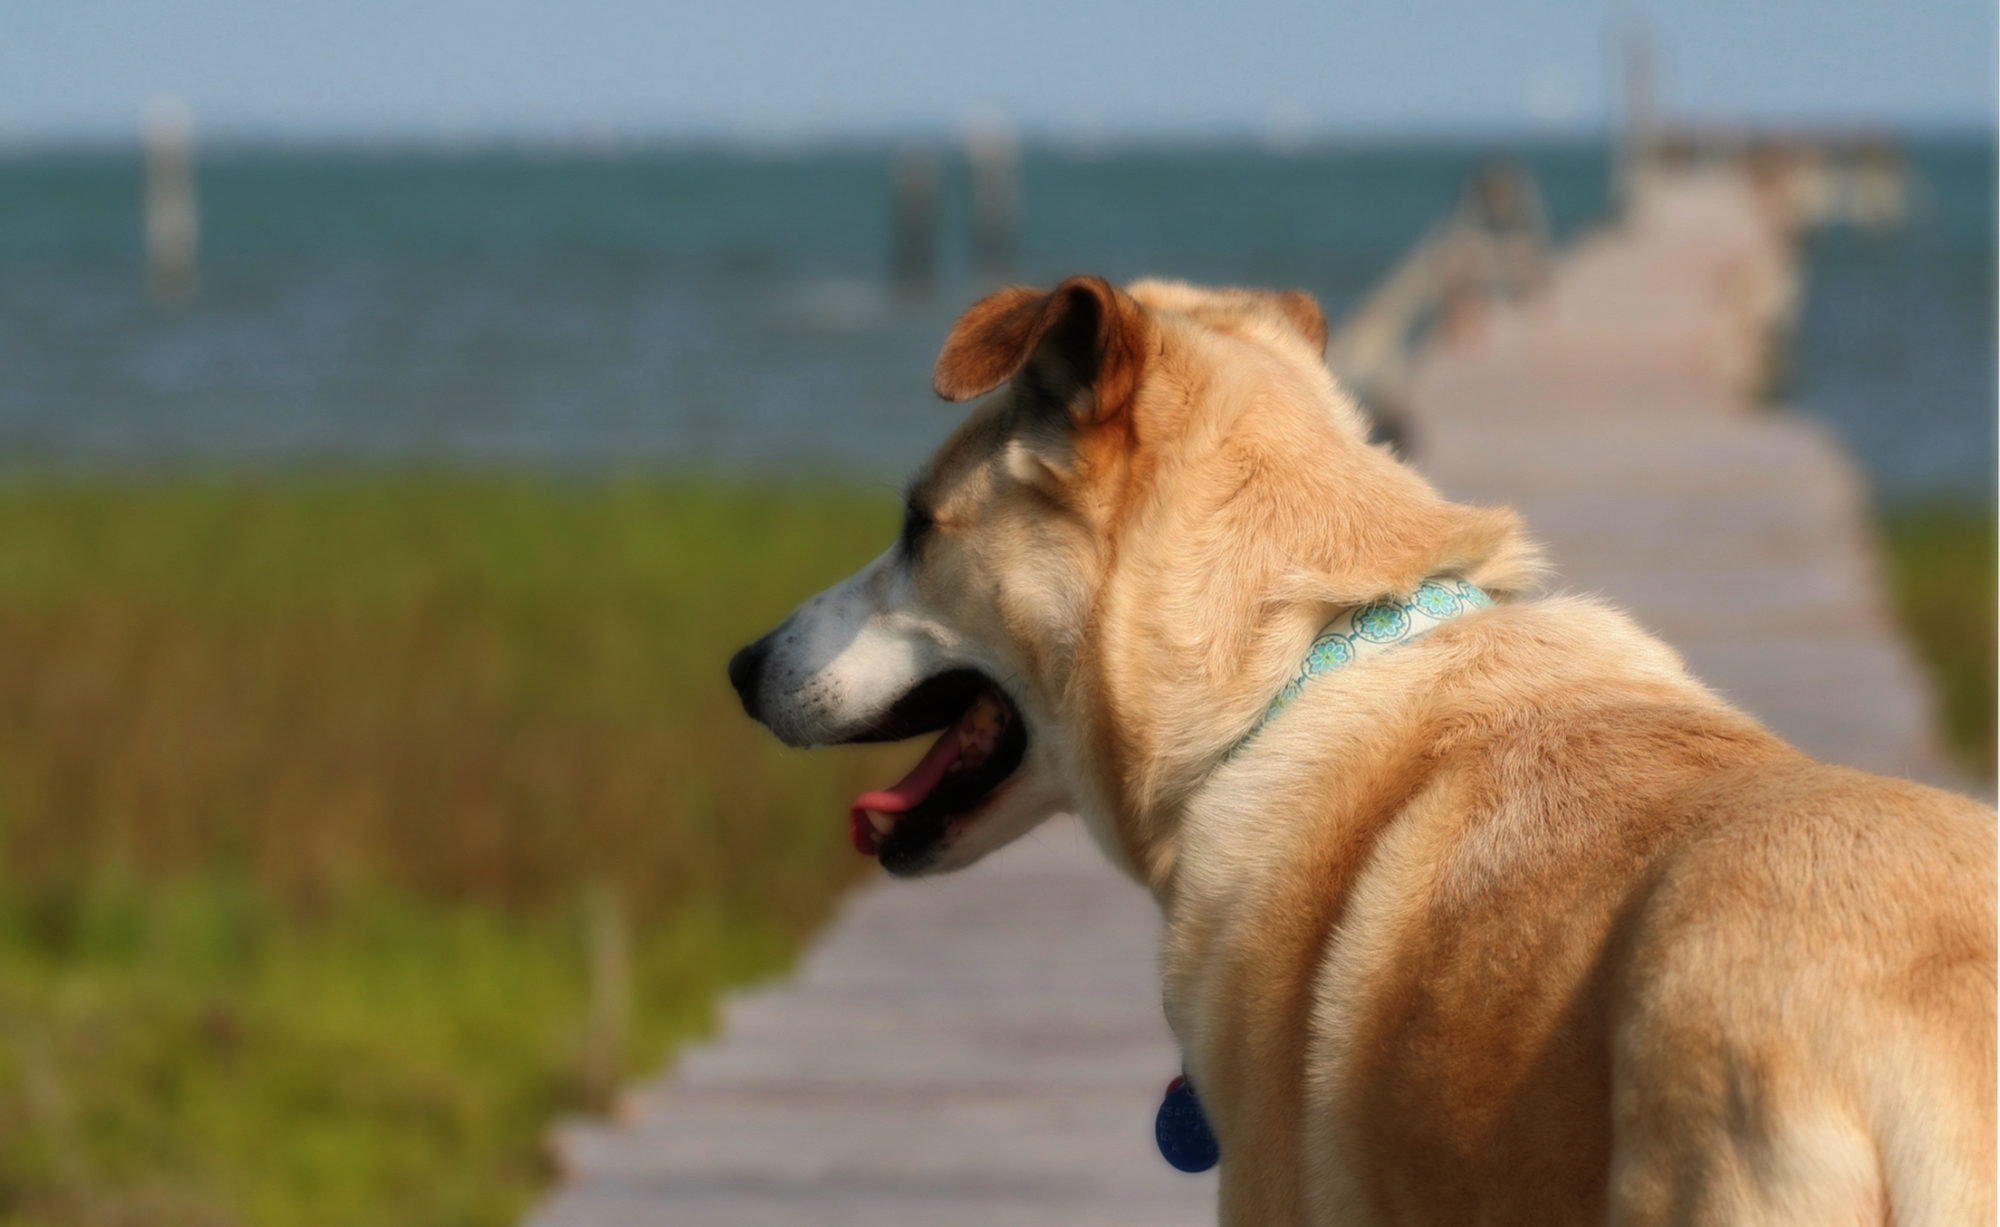
The Pacific NW is about the only place in the U.S. right now that isn’t blisteringly hot. Not great for my tomato plants, but much easier on our pets. For those of you who are roasting, check out these 3 different tutorials for making cooling collars. Keep your pups comfortable and, most importantly, keep them safe!
______________________________________________________________________
 This first cooling collar is probably the simplest. It’s a long, fabric sausage (with water absorbing crystals inside) that you tie around your dog’s neck. If you have a bigger dog, you’ll need to make it longer. Once it’s finished, soak the collar in water and let evaporative cooling do it’s thing. The collar can be reused indefinitely. (While water absorbing crystals (polyacrylamide) is considered non-toxic, I still wouldn’t let my dog eat it. So use some common sense.)
______________________________________________________________________
 Cooling collar #2 is a collar in & of itself–it has a buckle–and is for a Lab-sized dog. It could easily be downsized for a smaller dog. This design uses either a strip of small ice packs or regular ice for cooling. I like that it has a buckle—seems more secure. This cooling collar is also reusable. (Like with anything, you want to make sure your dog isn’t able somehow chew on the collar or another dog’s cooling collar.)
______________________________________________________________________
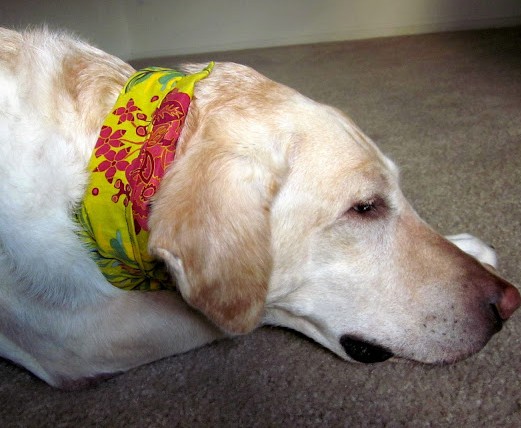
 I think cooling collar #3 is my favorite design. It uses your dog’s own collar to secure it. It too uses a strip of small ice packs, but isn’t usable with ice. Make sure to loosen your dog’s regular collar before sliding on the cooling collar. Then place the cooling collar so the ice packs are next to you dog’s skin with her regular collar on top. This collar is reusable. (Again, make sure your pup isn’t chewing on her cooling collar or another dog’s cooling collar.)
______________________________________________________________________


