People are so clever! Â Today I bring you 4 easy DIY rat condos,cages or hutches from modified Ikea furniture. Â You can, of course, use other furniture too and these homes will also work for other small pets with some possible adjustments.
If you don’t already own something that would work for these condos, you still may not have to pay full price. Â Ikea furniture is often found at thrift stores and garage sales. Â I bet there’s also a lot of Ikea furniture thrown out by collee students at the of the school year. Â Don’t forget to check the Returns section at Ikea before paying full price.
 First up is a rat cage made from Billy shelves. Â They left it divided into 3 sections—storage, younger rats, and adult rats. Â You could also cut holes in the shelves if you wanted to connect the different levels. Â They add a lip to each shelf which will help keep anything falling out of the cage like bedding or food.
_____________________________________________________________________
 The rat condo made from Gorm shelving looks good and has room for some storage. Â I like that they added wheels to make it easier to move and clean around. Â It looks like they made the doors themselves, but that’s pretty easy. Â Home Depot and Lowes will cut your wood for you for free if you don’t have too many cuts to make. Â The “L” brackets at the corners are a good idea for strength and durability. Â You don’t want your condo doors to fall apart!
_____________________________________________________________________
 This elaborate rat condo made from an Ikea Kullen wardrobe uses other Ikea products as components for the interior, like the tunnels, litter boxes, and houses.  This condo has lots of connected level and is flexible, so you can move things around as needed.
_____________________________________________________________________
 Another rat condo from a different Ikea wardrobe, the Aneboda. The shelves aren’t permanently fixed so you can change things around for different configurations.  I love the flexibility, so you can keep things interesting for your animals.
_____________________________________________________________________
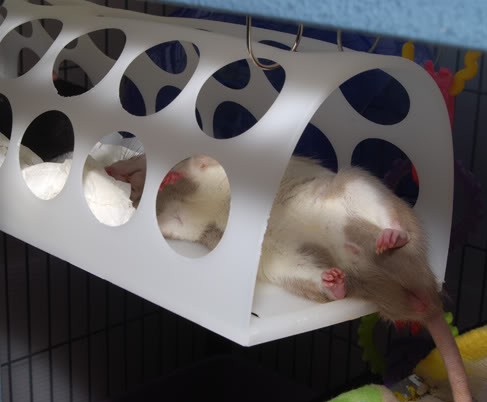
Finally, check out these ideas for repurposing other inexpensive Ikea products for your rats or other small animals.  This post gives numerous product suggestions for bedding, litter boxes, play, and infrastructure. The ubiquitous plastic bag holder also works as a bed or lounging platform. Great ideas!  I’m going to look at Ikea a little differently next time I’m there.

Don’t miss these other nifty Ikea based DIY pet projects:
- Hidden litterboxes
- Modern bunny hutch
- Â Awesome cat wall
- Easy, adjustable cat towers
- Kid’s toy good for camping with dogs
(Please note: I am in no way connected to Ikea. Â Other than I shop there and like all their pretty paper napkins.)