DIY: 2 Tutorials To Knit & Felt A Pet Bed

Here are two different tutorials for knitting a pet bed for a cat or small dog.  I suppose if you know how to alter patterns, you could knit a big bed for a large dog too. I just love that people take the time to make these tutorials and are happy to share their patterns.  Very generous!

knitcatbed1-copy

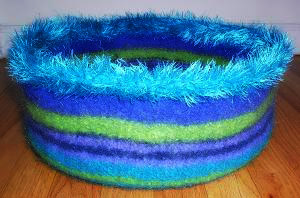
The KittyPi bed is knitted and then felted. This makes a great, durable bed that’s shaped like a flat-bottomed bowl.  The felting gives it some structure, but it’s still soft and comfy.  Love it!  Don’t miss the two page gallery of beds people have made—lots of inspiration.  The pattern is from Wendy at WendyKnits and since she’s generously shared this pattern, I want to let you know she has written two books—Wendy Knits: My Never-Ending Adventures In Yarn and Socks From The Toe Up.

knitcatbed3-copy

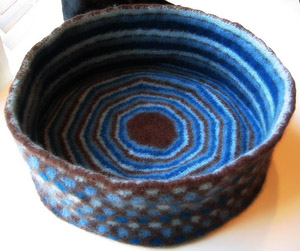
The Dotty Cat Bed pattern is another lovely knitted and felted pet bed. (via craftzine) It has a wonderful polka dot pattern and it too makes a flat-bottomed bowl when it’s felted.  Those dots are a nice touch.  You can see what the bed looks like before felting. This great pattern is from Kelly over at Kelp!Knits. You can see some of her gorgeous sock patterns too—Interlocking Leaves, Oak Leaf, & Hanging Vines.

You’ll need to use a natural fiber yarn to get it to felt.  Here are a few  tutorials on felting, in case you need them:  this one covers both hand & machine felting, here is a printable one on machine felting, and another on hand felting.
DIY: Sew A Hooded Pet Bed

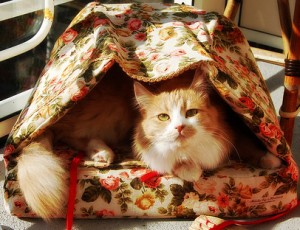
Hanna in Sweden has a good tutorial for sewing a hooded pet bed—perfect for a cat or small dog.  This project will be easier with some sewing experience, but is still pretty straightforward.  She gives details for how to size your pattern, but you’ll have to make your own.  Don’t let that scare you though.  The tutorial combines machine and hand sewing.  I would machine sew as much as I could and hide the seams in the folds on the inner part of the bed where the sides attach to the bottom and to the hood.

Hanna used an old curtain, which is a great and very thrifty idea.  Material used for drapes is heavier and more durable.  You’ll also need foam rubber.  She used thinner foam—one layer for the sides and multiple layers for a cushy bottom.  You could do that, but buying a thin piece for the sides and a thick piece for the bottom means less cutting and that the foam in the bottom will be easier to manage.

DIY: 2 Easy, No-Sew Cat Toys

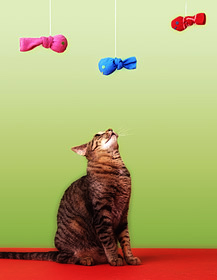
Here are two different, super easy DIY cat toys that don’t require any sewing.  The first tutorial is for those colorful felt feathers above. All you need is some wool felt in nice colors, some little jingle bells, and some cord.  Here’s the template for the feathers. And you can watch a video of how to make them.


The second toy is so simple, but could be really cute depending on the little socks you get.  You need some fun socks—I’d go with bright colors or colors of the same hue.  And you need some dried catnip.  Make a funnel out of paper, pour in enough catnip to fill it halfway, and tie the sock in a knot.  That’s it.

If you need it here’s the tutorial. Martha Stewart glues on felt eyes and a mouth with non-toxic glue, but I’d skip that.  They’re just going to fall off anyway and then there will be gross, sticky spots.

DIY: Slingshot Ball For Dogs

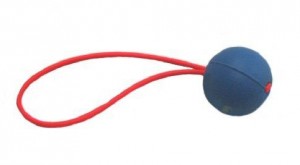
Check out this tutorial on how to make your own slingshot ball for your dog or for a gift. The cheapest store-bought version, like the Go-Frr Ball, that I can find is $8.00.  You could probably make eight DIY slingshot balls for the same amount.

You’ll need some rubber balls—I’ve seen multi-packs in toy stores or you could check a dollar store—and you’ll need some surgical tubing, which you can get at many hardware stores.  For tools, you’ll need a drill and a wire coathanger.  A batch of these would make a nice gift.