


Cute coat!  Check out this great tutorial for a canine rain coat using oil cloth—the vinyl coated material used to make tablecloths, tote bags, etc.  Oil cloth is waterproof, easy to clean, and now comes great patterns.
Heather, of Heatherly Loves, used an old dog coat as a pattern to cut out pieces from some oil cloth she had left over from another project. Â She used left-over knit fabric to line the coat, but knit can be fussy to sew. Â I would either not line the coat or would use flannel or light fleece. Â The result is a very functional, thrifty rain coat that looks really cute. Â I like that the belly strap is further back, though you’ll want to be sure a male dog won’t get pee on it. Â Saffron still shakes herself off even when wearing a coat and it always leaves the end of her coat flipped up. Â Having the strap further back might keep this from happening.
If you need it, here is a dog coat pattern that also covers the underside of a dog. This second pattern can be printed out and taped together. Need to custom fit a pattern?  Check out this tutorial for customizing a pattern to your dog’s measurements.  Finally, if you have left-over oil cloth, you can make a matching, foldable travel bowl for your pup.


 I like that it has:
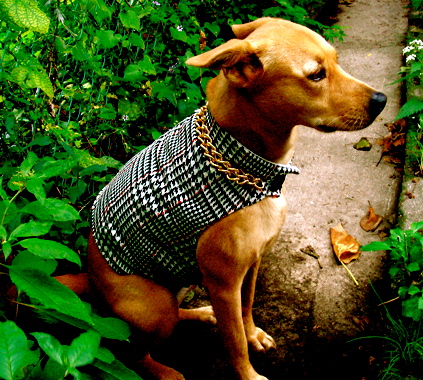
