DIY: Holiday Round-Up Of Gift Ideas

sweaterbedcorw-rebraids-recopyfeltfeathertoy-copysuitcasebed2socksweater-copy

Here’s the collection of DIY projects I’ve written about recently that would make good, inexpensive presents this year when money is tight for so many.

PetProject hopes all of you are enjoying the season, that you & yours are healthy & happy, and that the coming year is filled with joy.

On with the projects!

Cat Toys:

Dog Toys:

Pet Beds:

Dog Sweater:

DIY: 2 Tutorials To Knit & Felt A Pet Bed

Here are two different tutorials for knitting a pet bed for a cat or small dog.  I suppose if you know how to alter patterns, you could knit a big bed for a large dog too. I just love that people take the time to make these tutorials and are happy to share their patterns.  Very generous!

knitcatbed1-copy

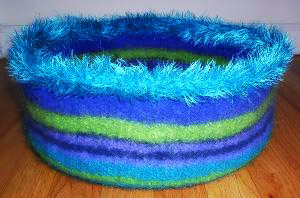
The KittyPi bed is knitted and then felted. This makes a great, durable bed that’s shaped like a flat-bottomed bowl.  The felting gives it some structure, but it’s still soft and comfy.  Love it!  Don’t miss the two page gallery of beds people have made—lots of inspiration.  The pattern is from Wendy at WendyKnits and since she’s generously shared this pattern, I want to let you know she has written two books—Wendy Knits: My Never-Ending Adventures In Yarn and Socks From The Toe Up.

knitcatbed3-copy

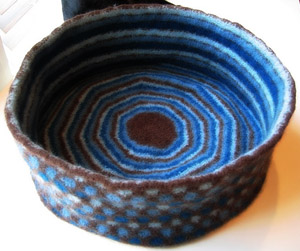
The Dotty Cat Bed pattern is another lovely knitted and felted pet bed. (via craftzine) It has a wonderful polka dot pattern and it too makes a flat-bottomed bowl when it’s felted.  Those dots are a nice touch.  You can see what the bed looks like before felting. This great pattern is from Kelly over at Kelp!Knits. You can see some of her gorgeous sock patterns too—Interlocking Leaves, Oak Leaf, & Hanging Vines.

You’ll need to use a natural fiber yarn to get it to felt.  Here are a few  tutorials on felting, in case you need them:  this one covers both hand & machine felting, here is a printable one on machine felting, and another on hand felting.

DIY: Sew A Hooded Pet Bed

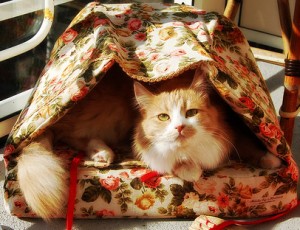
Hanna in Sweden has a good tutorial for sewing a hooded pet bed—perfect for a cat or small dog.  This project will be easier with some sewing experience, but is still pretty straightforward.  She gives details for how to size your pattern, but you’ll have to make your own.  Don’t let that scare you though.  The tutorial combines machine and hand sewing.  I would machine sew as much as I could and hide the seams in the folds on the inner part of the bed where the sides attach to the bottom and to the hood.

Hanna used an old curtain, which is a great and very thrifty idea.  Material used for drapes is heavier and more durable.  You’ll also need foam rubber.  She used thinner foam—one layer for the sides and multiple layers for a cushy bottom.  You could do that, but buying a thin piece for the sides and a thick piece for the bottom means less cutting and that the foam in the bottom will be easier to manage.

We Like: DIY Sweater Pet Bed

I made my own version of the pet bed made from an old sweater. It turned out great and the kitties love it.  Actually Crow tried to use it while I was working on it.  Saffron the dog thought it was for her—not sure if she thought it was a toy or a bed.  I mostly followed the tutorial I posted about before with a couple of minor changes.

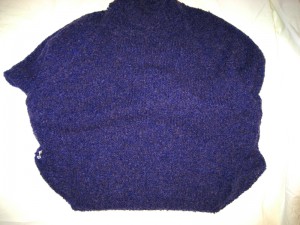
First, here’s a thumbnail of the sweater I used.
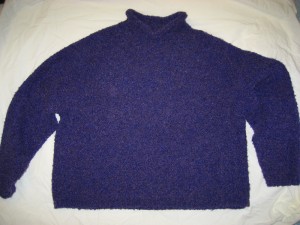
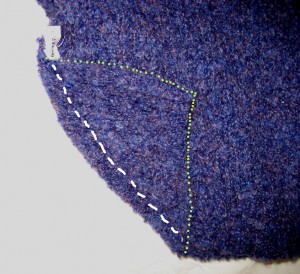
It had a rolled collar, so I snipped the thread tacking it down.  I stitched the arms partway on as described in the tutorial.  Then, instead of hand sewing the bottom hem, I folded it over about an inch and stitched it on my sewing machine.  In the thumbnail below, you can see the seam is the white dashed line and the edge of the folded over sweater is the green dotted line.
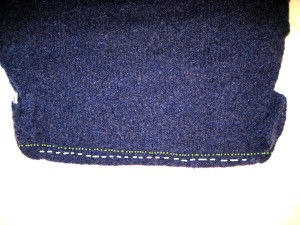
I decided to make my bed more oval, so I folded the corners of the bottom hem up and stitched that with my sewing machine.  You can see the shape of the bottom hem in the first thumbnail.  The second is a close-up of the folded corner.  The white dashed line is the seam and the green dotted line is the edge of the sweater that’s folded up.
I followed the rest of the instructions in the tutorial through Step 3.  But, before I did Step 4, I traced the outline of the bottom of the bed onto an old mattress pad I had set aside for sewing projects.  I cut out two layers of the pad and carefully inserted it through the neck and into the bottom of the bed. I proceeded with Step 4 and then tacked the bottom of the bed together to secure all the layers.  I did about 5 stitches in the bottom of the bed—one in each “corner” and one in the middle.  This will require a large, sharp needle.  It was a pisser to get the needle and yarn through a layer of sweater, 2 layers of mattress pad, and another layer of sweater, but it’s doable.

I had washed and thoroughly dried an old pillow.  I cut open the pillow and used its stuffing to fill the arms.  After the arms were stuffed the way I wanted, I unrolled the neck & tucked it in on itself and stitched it closed with a slip stitch, also know as a ladder or invisible stitch.  Check out this good tutorial on the slip or ladder stitch if you don’t know how to do it.

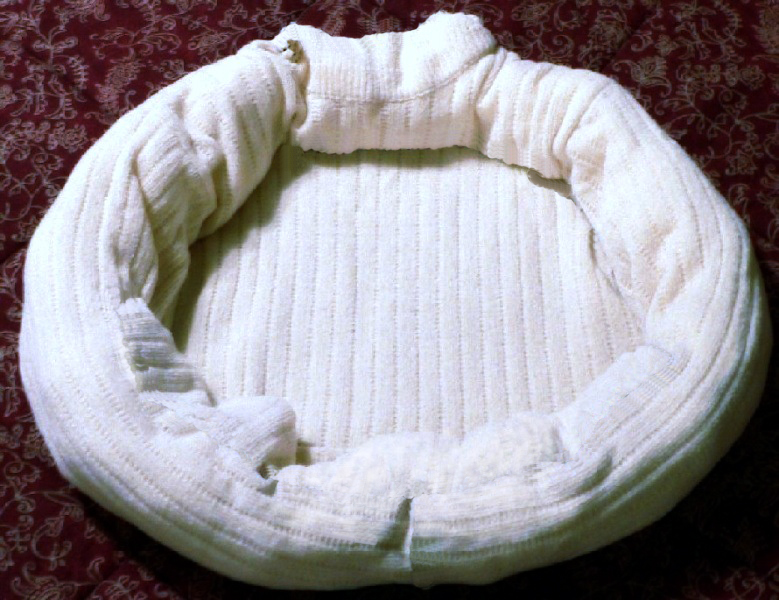
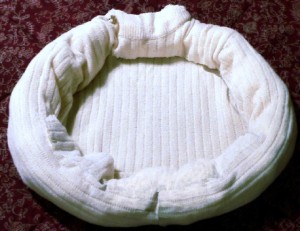
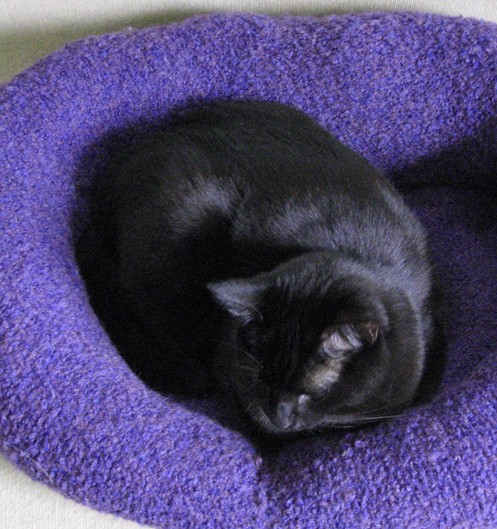
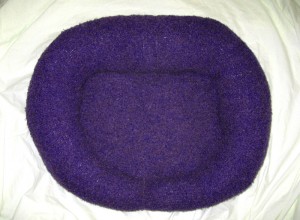
Here’s the finished bed.  Because the sweater is a boucle knit my stitches pretty much disappeared, which is nice.  This is an easy project and the tutorial is good.  You can upcycle a sweater you don’t wear anymore or one from a thrift store and make a great bed for your cat or small dog.  Or make a nice present for someone else.
DIY: Make A Cat Bed From An Old Sweater

Here’s a great little tutorial on how to make a nifty cat bed (or small dog bed) out of an old sweater. Clever and thrifty!  (Note: the tutorial uses contrasting yarn so you can see the work–you should use matching yarn and the seams won’t show.)

You don’t even need a sewing machine for this though you could use one.  You will need:

When you’re finished, the arms of the sweater will be bolsters encircling the bed.  This is a pretty easy project and the author said it took her longer to write the tutorial than to make the bed.  She also has a great suggestion of making one to donate to your local shelter.  Nice!

The author of the tutorial has a fun blog on knitting and other crafty things.

Don’t miss this other DIY pet bed.