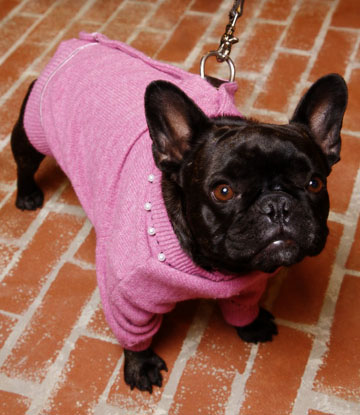
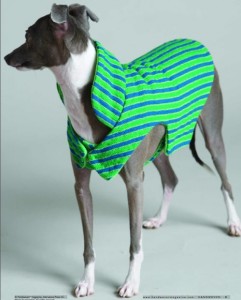
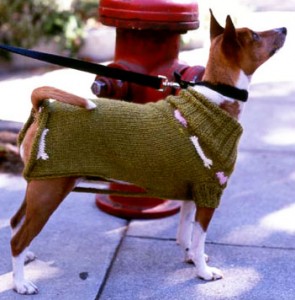
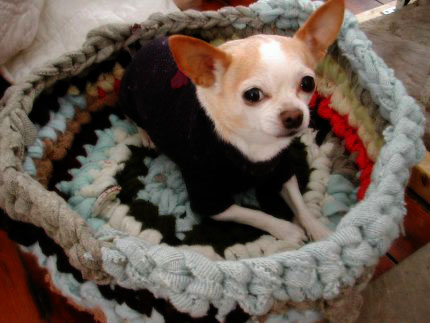
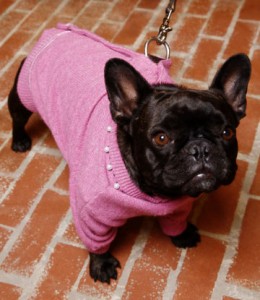
 After a little stutter of snow yesterday, it’s actually snowing with some conviction here in our corner of the Pacific NW. So here’s a clever project that recycles an old, wool women’s cardigan into a cute coat for a smallish dog. A large men’s sweater would work for at least a mid-sized dog. Make sure you use a wool sweater, otherwise it won’t felt. Don’t have an old sweater around? Get thee to your thrift store and find one for cheap. Be sure it’s larger than your pup, because it will shrink when you felt it.
Felted knits handle more like fabric and are more durable. (Here are a few tutorials on felting, in case you need them: this one covers both hand & machine felting, here is a printable one on machine felting, and another on hand felting.)
The tutorial has you fitting the sweater by pinning it while it’s on your dog. This seems like A Very Bad Idea. I think a better idea would be to mark the sweater where you have it pinched to take up the excess material. It might not be as precise, but you also won’t risk poking holes in your dog or yourself, which sounds much more pleasant to me. If you’re making one for a larger dog, I’d check the length of the sleeves before you cut them off.
So check out the tutorial and don’t miss the video that also shows how to make the cardigan dog coat. It can give you a better idea of how this project works.
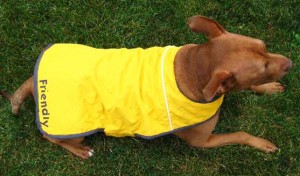 Dog Raincoat from Old Jacket (for people) with pattern
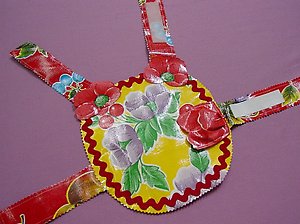 Oil Cloth Coat with 2 patterns
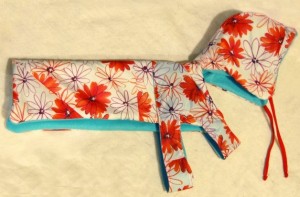 Though it’s not a tutorial, this is a great idea! Check out these super cool coats made out of broken umbrellas created by Taryn Zychal.