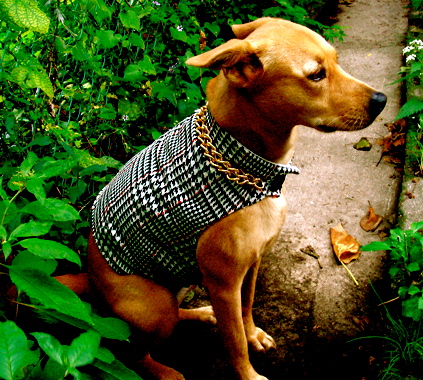
I found a great little tutorial on making a custom fit dog jacket over at BurdaStyle.com. This is mainly a tutorial on making & customizing the pattern, not actually sewing the jacket. You’ll need some knowledge about sewing, especially if you line the jacket. But, this is doable so don’t be intimidated.
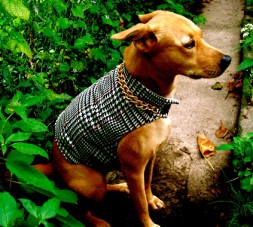
Your jacket doesn’t have to cost much. Look for remnants at your fabric store—a cute, durable upholstery fabric could be really cute. You could also use fleece.  Or you could use a blanket from a thrift store. If you find a fun wool blanket, you could felt it to make a more durable & very cute jacket.
Here are a few tutorials on felting:Â this one covers both hand & machine felting, here is a printable one on machine felting, and another on hand felting.
In addition to fabric, you’ll need:
- paper to make the pattern
- sufficient fabric, plus fabric for lining if you plan to line it
- fasteners like buttons, velcro, snaps
- embellishments if you want them
The tutorial shows you how and where to measure. Then how to transfer the measurements to paper to make the pattern.
Here are some instructions to help flesh out Step 4:
- fold your fabric in half & place “spine” of pattern on the fold
- when you cut the fabric, pad the pattern with extra fabric for seam allowances (5/8″ or 1.5cm is standard) unless you’re using fabric that won’t fray such as felt
- add tabs for fasteners
- cut out lining if needed, again padding the pattern for seam allowances as above
- if there will be no lining, hem the jacket
- if there will be a lining, place RIGHT sides together, sew leaving opening to turn the jacket, turn and finish the jacket
- add fasteners and any embellishments
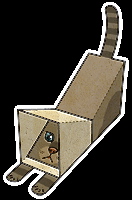 Poor kitty! Never had a cat who had to wear an Elizabethan/lampshade/cone collar? Bryan over at PaperFoldables has made it possible for you to print and put together your very own. Will provide hours of entertainment! (Bryan also has a papercraft version of Michael Jackson’s red, leather coat in honor of his passing.)
